Hey there! In this article, we have an After Effects tutorial by Ryan Shirley on sky replacement with timelapse. Ryan shares that sky replacements are some of his favorite effects to use, and he’ll show you how to replace the sky with a timelapse to create an epic look. He edited the video using Adobe After Effects and Premiere Pro. Ryan also gives a sneak peek of his 2017 video and promises more tutorials coming soon. So, if you’re interested in learning how to improve your sky replacements and add some flavor to your videos, keep reading or check out Ryan’s video. He’ll guide you through the process step by step and provide helpful tips along the way. Enjoy!
In this article, we dive into a fantastic After Effects tutorial by Ryan Shirley on sky replacement with timelapse. Ryan shares his love for sky replacements and demonstrates how to create a natural-looking effect using some tricks he has picked up. The tutorial showcases a specific clip where Ryan walks on a ridge in Hawaii, and he walks viewers through the entire process of replacing the sky in After Effects. From using the rotoscope tool to editing individual frames and applying final touches, Ryan explains each step in a friendly and approachable manner. If you’re looking to add some cinematic flair to your videos through sky replacement, this tutorial is a must-read. Follow along with Ryan, and you’ll be creating awe-inspiring visuals in no time.
Overview
Introduction to sky replacement
Sky replacement is a popular visual effect used in video editing to replace the existing sky in a clip with a different sky. This technique can transform the look and feel of a video, adding a new level of visual impact. In this tutorial, we will explore the process of replacing the sky in a video clip using timelapse footage, creating a natural and seamless result.
Importance of natural-looking sky replacements
While sky replacements can be visually impressive, it is crucial to ensure that the replacement looks natural in order to maintain the overall coherence of the video. A poorly executed sky replacement can be distractive and reduce the overall quality of the visual effects. In this tutorial, we will cover techniques to achieve a more convincing and natural sky replacement, enhancing the visual appeal of your videos.
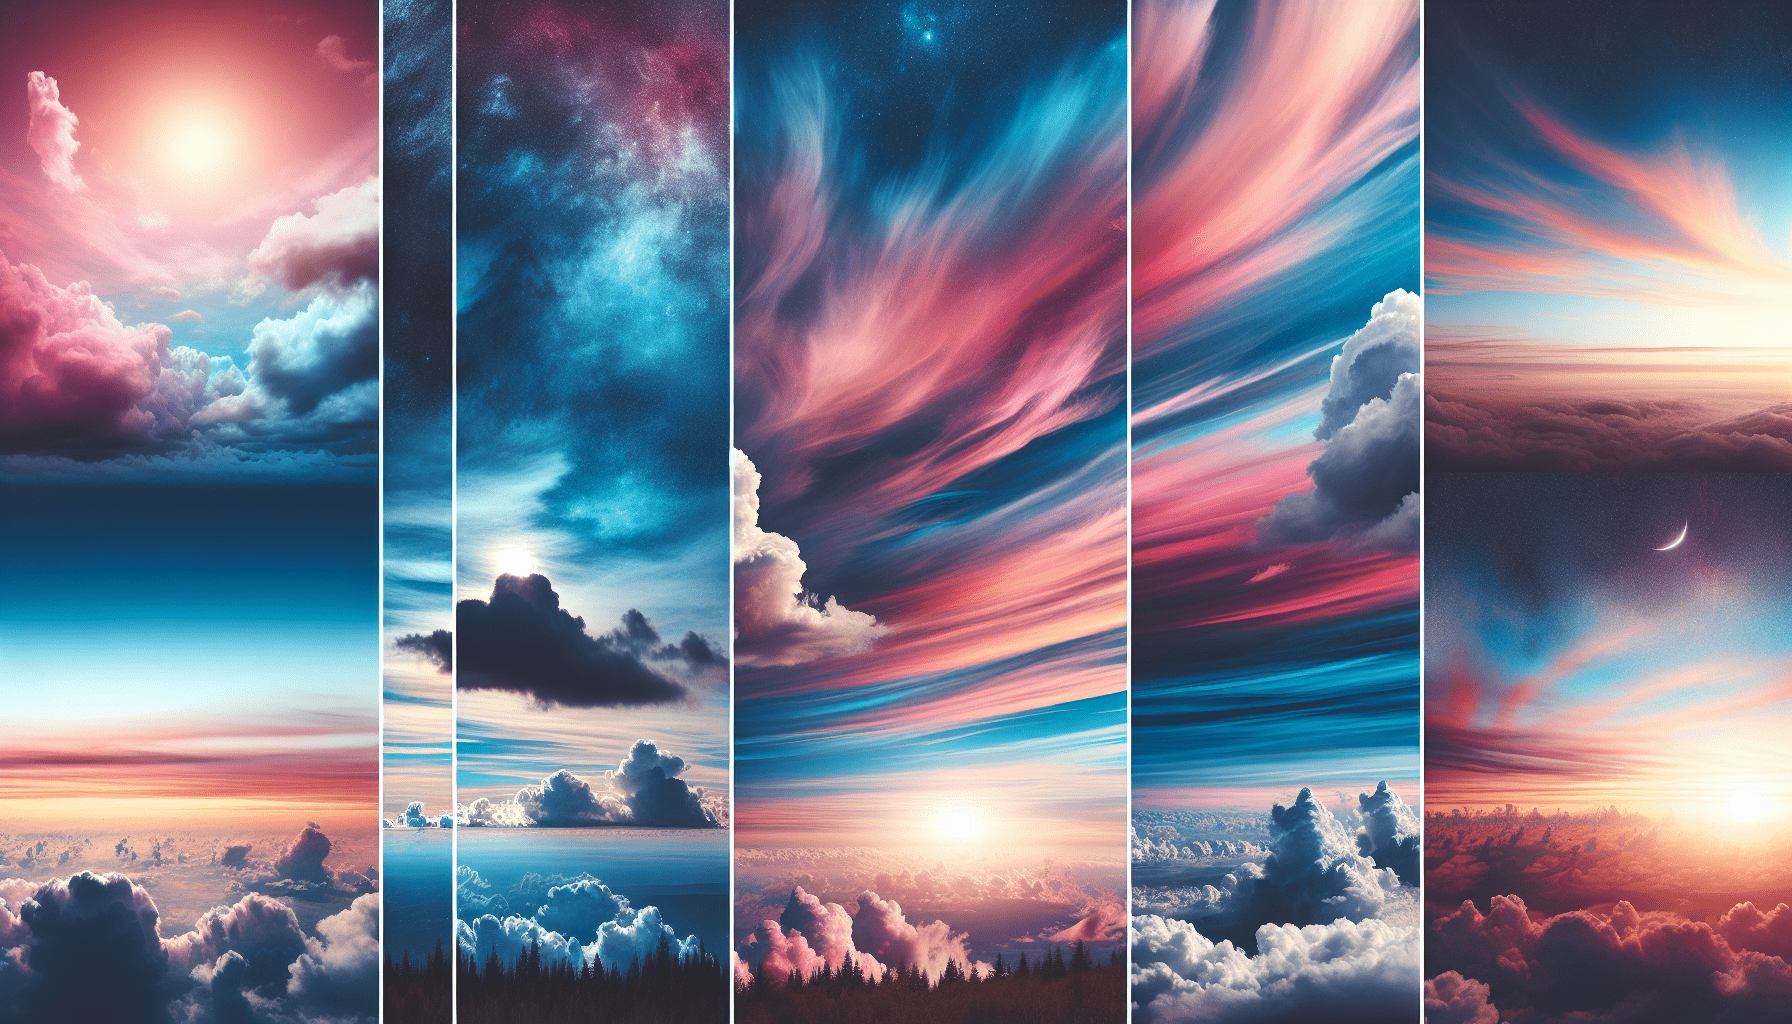
Using timelapse footage for sky replacement
By incorporating timelapse footage into your sky replacement process, you can add dynamic movement to your videos, making them more engaging and visually stunning. Timelapse footage captures the passage of time and can provide a unique and mesmerizing effect when combined with the sky replacement technique. In this tutorial, we will guide you through the process of using timelapse footage to replace the sky in your video clips.
Preparing the Clips
Gathering real-time shot and timelapse footage
To begin the sky replacement process, you will need two types of clips – a real-time shot that includes the subject you want to retain, and a timelapse footage of the desired sky you want to replace. Collect these clips and ensure they are compatible with your video editing software.
Adjusting frame rate
To achieve a natural time-lapse effect, it is important to adjust the frame rate of your real-time shot. In most cases, reducing the frame rate to about 40% of the original speed will create the illusion of a time-lapse captured at 24 frames per second. This adjustment will provide a smoother transition between the real-time shot and the timelapse footage, creating a more cohesive visual effect.
Opening video in After Effects using Adobe dynamic link
To edit your video clips and apply the sky replacement effect, you will need to import them into Adobe After Effects. Using Adobe dynamic link, you can easily integrate your video clips with After Effects, allowing for seamless editing and adjustments. Open your video in After Effects and proceed to the next steps.
Using the Rotoscope Tool
Selecting the video layer
In After Effects, locate the video layer that contains the real-time shot you want to edit. Double click on the video layer to open it and access the editing tools.
Using the rotoscope tool to mask the sky
To initiate the sky replacement process, select the rotoscope tool from the toolbar in After Effects. This tool will allow you to create a mask around the sky in your real-time shot, isolating it for replacement. Use the green circle provided by the rotoscope tool to color in the area you want to include in the mask.
Editing the mask frame by frame
Carefully review each frame of your video layer and make any necessary adjustments to the mask created using the rotoscope tool. Pay particular attention to any areas where the mask overlaps with the subject or where elements in the frame make the sky replacement less convincing. Edit each frame to ensure a seamless and natural transition.
Ensuring the first frame is perfect
The first frame of your timeline is crucial, as it serves as the basis for all subsequent frames in the rotoscoping process. Take extra care to ensure that the mask accurately represents the areas to be replaced. By perfecting the first frame, you can ensure a more effortless editing experience for the rest of your project.
Advanced Rotoscoping Techniques
Handling challenging rotoscope cases
In some instances, rotoscoping can be more challenging due to factors such as complex subject matter or intricate details within the frame. When faced with these cases, take your time to carefully edit each frame, making small adjustments as necessary. Patience and attention to detail are key in achieving a convincing and natural sky replacement.
Extending the gray bar for longer rotoscoping
To ensure you have enough room for rotoscoping, extend the gray bar in your timeline beyond the length of your video clip. Failing to do so will limit your ability to edit frames beyond the extent of the gray bar. Make sure it fully encompasses your project to allow for any necessary adjustments.
Adjusting feather, contrast, shift edge, and reduce chatter
Utilize the additional tools provided in After Effects to further refine your sky replacement. Adjust the feather, contrast, shift edge, and reduce chatter settings as needed to achieve a more seamless and natural effect. Experiment with these tools to find the ideal balance that fits your specific project.
Freezing the frames for editing in Premiere Pro
Once you have completed the rotoscoping process in After Effects, freeze the frames to preserve your edits. This step is necessary to ensure that you can continue working with your project in Premiere Pro. Without freezing the frames, you will not be able to make further adjustments to the rotoscoping in Premiere Pro.
Bringing the Clip to Premiere Pro
Importing the rotoscoped clip into Premiere Pro
After finalizing the rotoscoping in After Effects, import the edited clip into Premiere Pro. Use the import feature to navigate to your saved project file and select the rotoscoped clip for importing. This will allow you to seamlessly transition to the next stage of the editing process.
Using the warp stabilizer for smooth footage
To enhance the smoothness of your rotoscoped clip, utilize the warp stabilizer tool in Premiere Pro. Apply the warp stabilizer effect to reduce any unwanted camera movements or shakiness in your footage. This step ensures a more polished and professional-looking result.
Tracking and attaching object to the sky if needed
In some cases, you may need to track and attach objects, such as people or animals, to the new sky. Use the tracking feature in Premiere Pro to accomplish this. Select the object you want to track and the new sky layer, then proceed with the tracking process. This technique will help seamlessly integrate the subjects into the new sky environment.
Adding a time lapse clip below the rotoscoped clip
Finally, introduce the timelapse footage beneath the rotoscoped clip in Premiere Pro. This positioning will allow the new sky to appear above the subject, creating a realistic and immersive effect. Adjust the position and scale of the timelapse clip as needed to align it with the rotoscoped clip.
Color Correction for Natural Look
Accessing the effects tab in Premiere Pro
To achieve a natural and cohesive look between your rotoscoped clip and the timelapse footage, access the effects tab in Premiere Pro. This tab contains various effects and adjustments that will enable you to fine-tune the colors, brightness, contrast, and other settings of your timelapse clip.
Applying the Lumetri Color effect to the timelapse clip
One of the most powerful tools for color correction in Premiere Pro is the Lumetri Color effect. Apply this effect to the timelapse clip to refine the colors and ensure they match the environment and lighting of the real-time shot. Experiment with the various adjustments available to achieve the desired natural look.
Adjusting brightness, contrast, exposure, and other settings
Within the Lumetri Color effect, make adjustments to the brightness, contrast, exposure, and other settings as necessary. By carefully fine-tuning these parameters, you can create a more realistic and visually pleasing sky replacement effect. Aim to strike a balance between the timelapse footage and the real-time shot to achieve a cohesive and natural result.
Achieving a natural and cohesive look with the environment
The ultimate goal of color correction is to create a seamless integration between the timelapse footage and the real-time shot. Adjust the colors, tones, and other visual elements to ensure they blend harmoniously with the environment portrayed in the real-time shot. Continuously review and refine the settings until you achieve a natural and cohesive look.
Final Touches
Reviewing the finished clip with sky replacement
Once you have completed all the previous steps, take the time to review the finished clip with the sky replacement effect. Watch the video from start to finish and pay close attention to the transition between the real-time shot and the timelapse footage. Make any necessary adjustments to fine-tune the effect and ensure it meets your desired visual standards.
Applying any final color grading adjustments
If needed, make any final color grading adjustments to the video as a whole. Consider the overall tone and mood you wish to convey and experiment with different grading options to enhance the impact of the sky replacement effect. Remember, the final touches can significantly elevate the quality and visual appeal of your video.
Creating a widescreen video for a cinematic effect
To further enhance the impact of your sky replacement, consider creating a widescreen video format. This cinematic effect can add an extra layer of immersion and visual grandeur to your video, making it more engaging and captivating to viewers. Adjust the aspect ratio of your video to achieve the desired widescreen effect.
Enjoying the added visual impact of the sky replacement
With all the steps completed, sit back and enjoy the enhanced visual impact of your sky replacement. Take pride in the creative and unique effect you have achieved, and appreciate how it has transformed your video into something truly remarkable. Remember to experiment and continue exploring similar topics to expand your skills and knowledge further.
Conclusion
The sky replacement effect as a unique and creative tool
The sky replacement effect is a powerful technique that allows for unique and creative video editing possibilities. By seamlessly combining real-time shots with timelapse footage, you can transform the atmosphere and mood of your videos, adding a touch of magic and visual grandeur. The sky replacement effect offers a world of creative opportunities and should be embraced as a valuable tool in video editing.
Enhancing the visual appeal of videos through sky replacements
When done correctly, sky replacements can greatly enhance the visual appeal of videos, creating a more immersive and captivating experience for viewers. By following the techniques outlined in this tutorial, you can achieve natural-looking sky replacements that seamlessly blend with the real-time shots, elevating the overall quality and impact of your videos.
Looking forward to more tutorials on similar topics
With the knowledge gained from this tutorial, you are well-equipped to explore and experiment with the sky replacement effect. Embrace the opportunity to continue learning and expanding your skills in video editing. Stay tuned for more tutorials on similar topics, as there is always more to discover and explore in the world of visual effects and video editing.