Hey there! Have you ever heard of drone hyperlapse? Well, it’s a super cool filming technique that can add some extra flavor to your videos. And the best part? It’s actually quite easy to do once you figure it out. In this tutorial video by Ryan Shirley, he walks you through the process step by step, so you’ll be able to create stunning drone hyperlapse shots in no time.
First, change your video quality to 1080 HD and switch your drone camera settings to manual mode for more control over the exposure. Then, open Tap-Fly mode on your DJI app and set the speed to your liking (Ryan prefers 2-5 mph). Simply tap a location on your screen, let the drone fly for about 5-20 minutes, and you’ll capture some amazing footage. Later, you can edit, speed up, and stabilize the footage in your editing software. So, get ready to take your videos to the next level with drone hyperlapse!
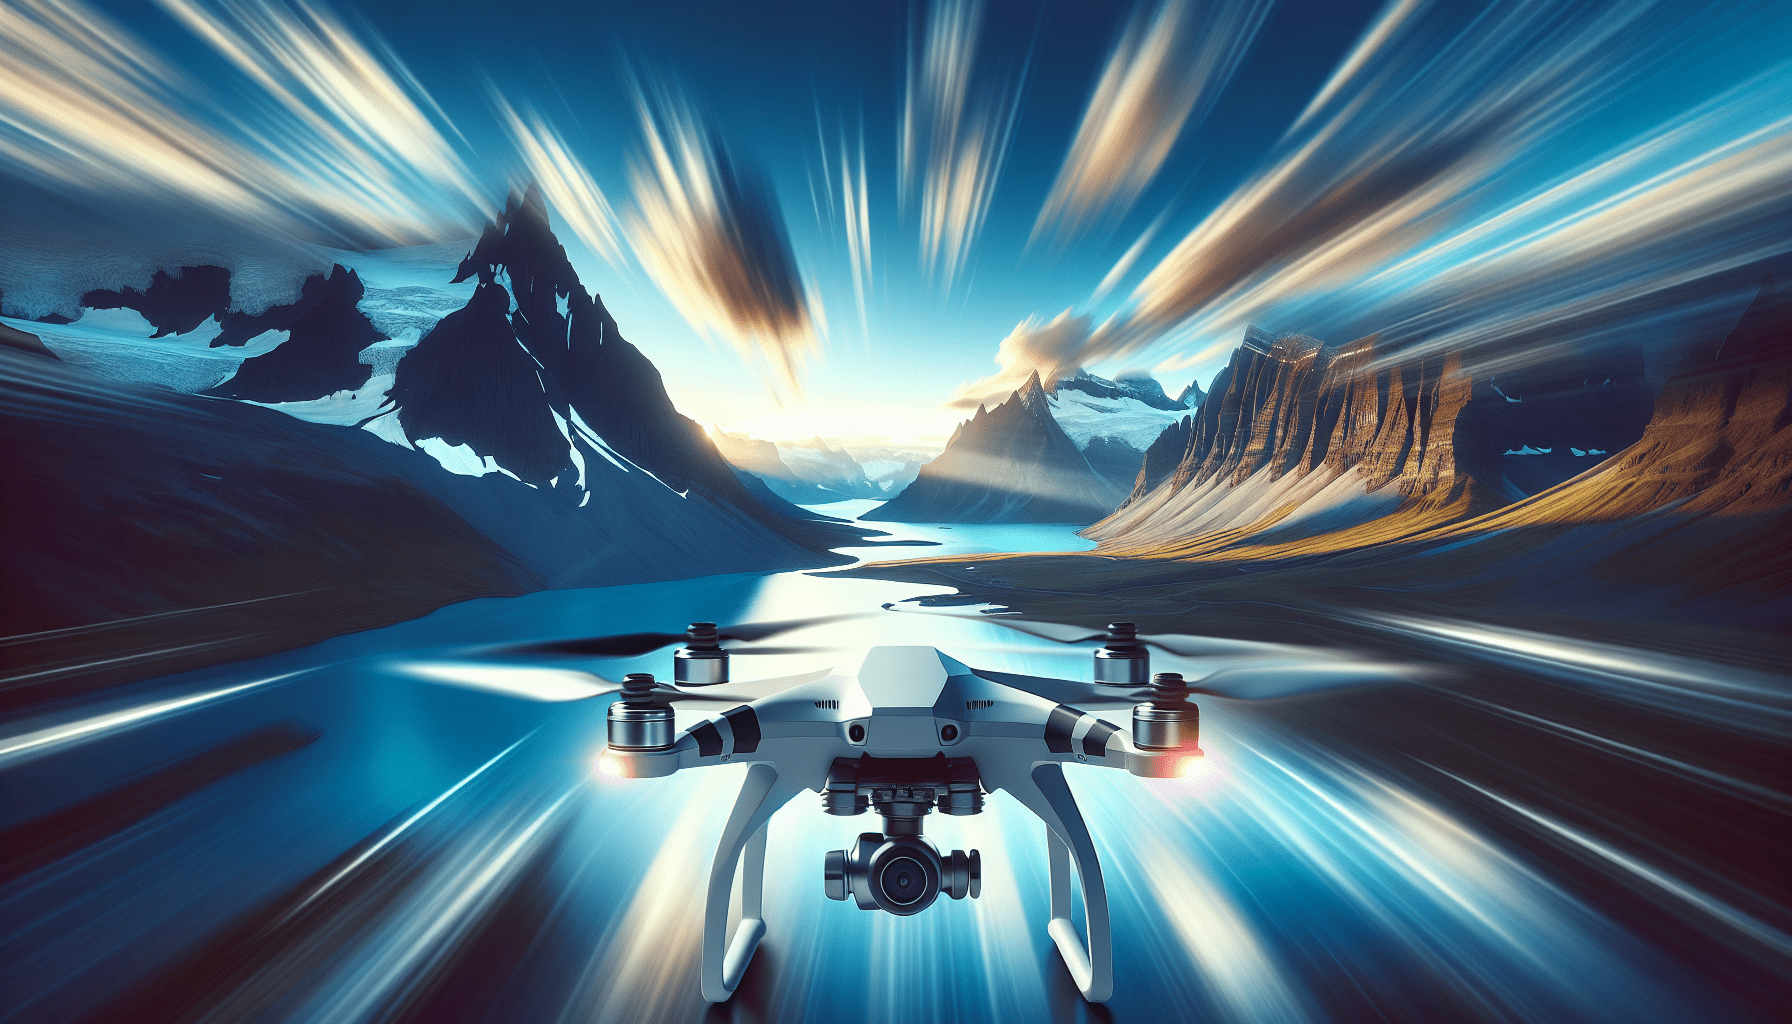
Drone Hyperlapse Checklist
Welcome to the comprehensive article on how to do a drone hyperlapse! Drone hyperlapse is an exciting filming technique that can add flavor and a sense of movement to your videos. Don’t worry if you’re new to this, it’s relatively easy to do once you understand the process. In this article, we will provide you with a checklist and step-by-step instructions to help you create stunning drone hyperlapses.
Setting Up the Drone
The first step in creating a drone hyperlapse is to get your drone in the air. Make sure you have a suitable location for flying and follow all local regulations. Once your drone is up and running, open the DJI app on your device.
To ensure optimal video quality, change the video quality setting to 1080p. This will provide high-definition footage without creating too large of a file size. Keep in mind that hyperlapses can range from 5 to 20 minutes, so it’s important to choose an appropriate video quality.
Next, change the camera settings to manual mode. This will allow you to have full control over the exposure and other settings throughout the hyperlapse. Adjust the exposure settings to make sure they are suitable for the changing lighting conditions.
Using Tap-Fly Mode
Once you have set up your drone and adjusted the camera settings, it’s time to switch to Tap-Fly mode. Tap-Fly mode allows you to tap a location on your screen and let the drone fly to that location.
Before tapping a location, set the speed to a low value, typically between 2 to 4 mph. This slower speed will create smoother and more cinematic footage for your hyperlapse. After setting the speed, tap a location on your screen where you want the drone to fly.
Once everything is set, let the drone fly for around 5 to 20 minutes. During this time, capture patient shots of the surroundings and enjoy the process of creating your hyperlapse.
Camera Settings
While the drone is flying in Tap-Fly mode, it’s important to adjust the camera settings for optimal footage. The exposure settings should be suitable for the changing lighting conditions during the hyperlapse. Make sure to set the focus and white balance manually to ensure consistency throughout the footage.
Recording Hyperlapse Footage
After capturing around 5 to 20 minutes of continuous footage, it’s time to bring the drone back and prepare for the editing process. Choose a destination for your hyperlapse and set the speed to around 2.2 mph. This speed will create a smooth and cinematic timelapse effect.
Let the drone fly for another 5 to 10 minutes, capturing beautiful timelapse shots of the chosen location. Take advantage of the unique perspective that a drone hyperlapse offers, and explore different angles and compositions.
Editing the Footage
Once you have recorded the hyperlapse footage, it’s time to import it into your editing software. Most editing software supports drone footage, so choose your preferred program. Start by adjusting the speed of the video.
To create a hyperlapse effect, increase the speed of the footage to your desired level. Depending on the desired effect, the speed can range from 500% to 10,000%. Experiment with different speeds and find the one that suits your vision for the hyperlapse.
After adjusting the speed, it’s important to stabilize the footage. Drone footage can sometimes be shaky due to wind or other factors. Use the stabilization tools in your editing software to smooth out any shaky shots and enhance the overall quality of the hyperlapse.
Throughout the editing process, remove any unwanted footage or sections that do not contribute to the overall flow of the hyperlapse. Trim the footage to create a cohesive and visually engaging final result.
Final Result
Once you have edited the hyperlapse footage, it’s time to review the final result. Watch the hyperlapse and make any necessary adjustments or refinements. Pay attention to the overall composition, clarity, and smoothness of the footage.
If there are any parts of the hyperlapse that you feel could be improved, go back to the editing software and make the necessary changes. Once you are satisfied with the final result, trim out any unwanted footage and prepare for exporting.
Conclusion
Congratulations! You have successfully created a stunning drone hyperlapse. This filming technique can add flavor and a sense of movement to your videos, making them more visually engaging. We hope that this comprehensive article has provided you with the necessary information and guidance to create your own drone hyperlapses.
Remember to follow the checklist and steps outlined in this tutorial and enjoy the process of creating beautiful drone hyperlapses. With practice and experimentation, you will refine your skills and create even more captivating hyperlapse videos. So grab your drone, find unique locations, and let your creativity soar in the world of drone hyperlapses. Happy filming!