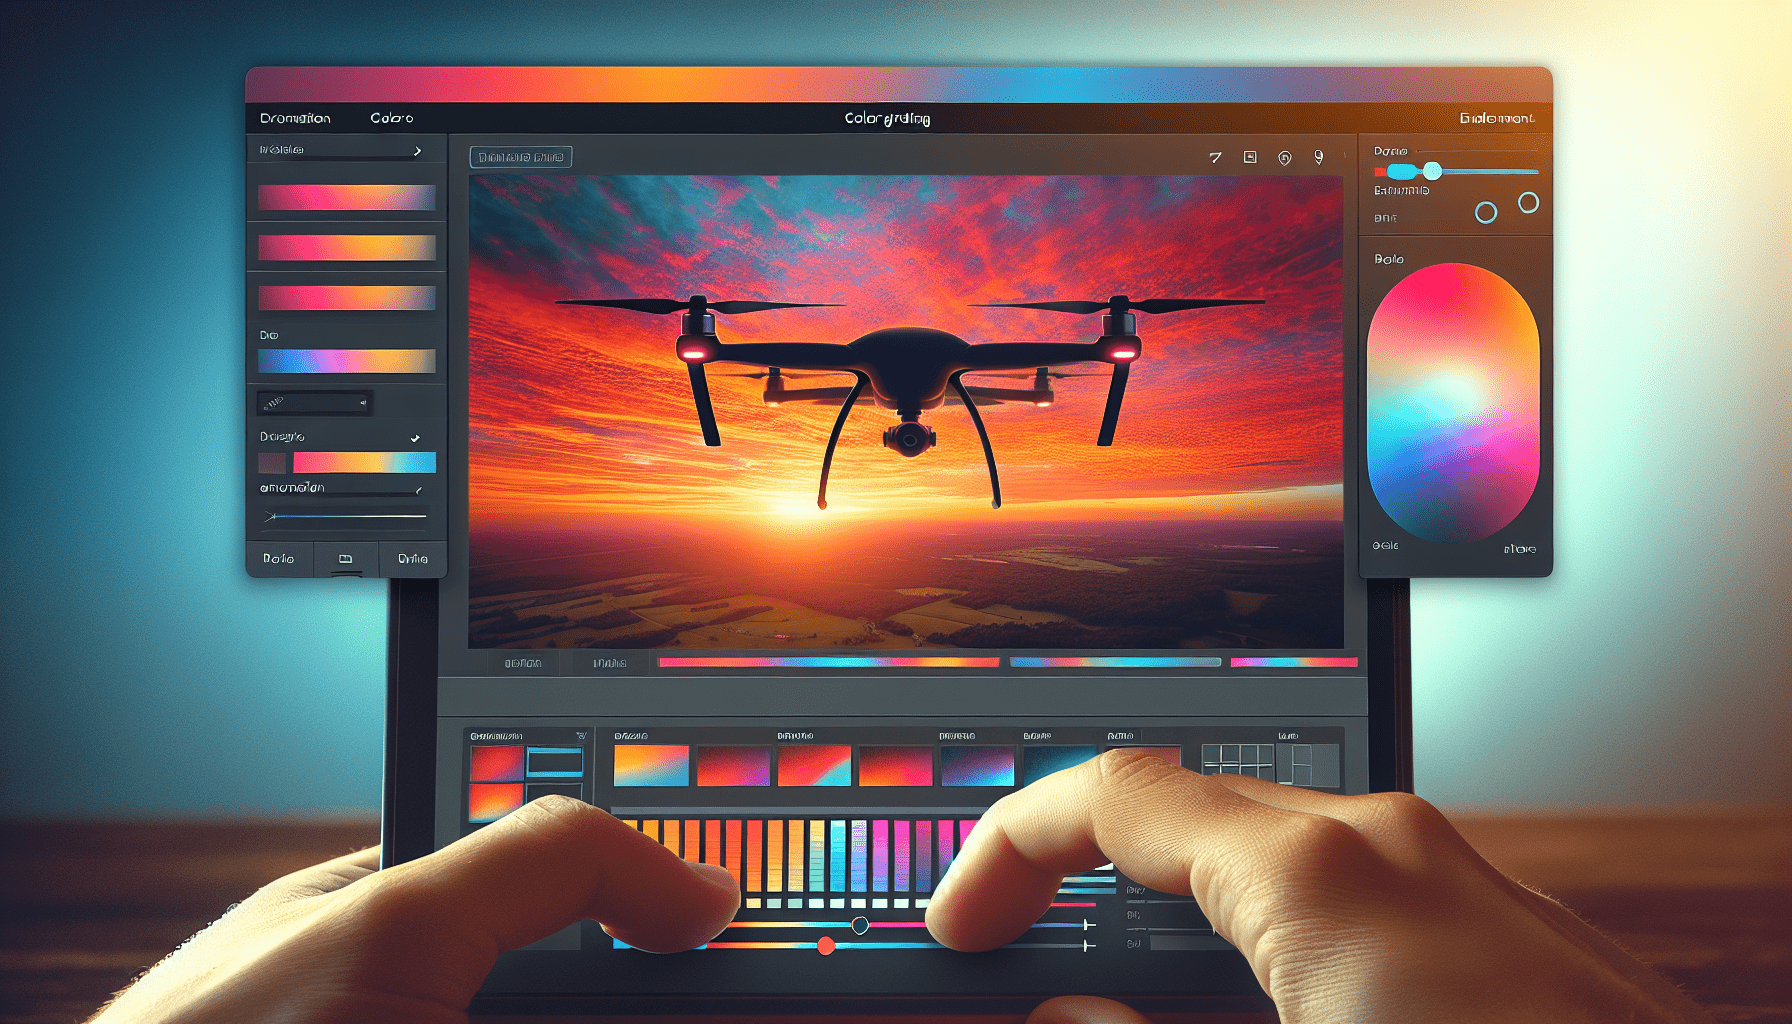
Hey there! In this tutorial, Ryan Shirley shows you how he color grades his drone footage using Adobe Premiere Pro and luts. He shares some simple tricks to improve your drone footage, while also mentioning that there are adjustments you can make during filming. Ryan takes you through the process step by step, demonstrating how to create an adjustment layer, apply luts, and utilize the Lumetri Color effect. He also discusses different styles of luts, such as cinematic, film stock, and speed looks, and provides suggestions for tweaking the footage. By the end of the tutorial, you’ll have a better understanding of how to enhance the color and overall aesthetic of your own drone footage. Happy editing!
Introduction
In this tutorial, I’m going to show you how to color grade your drone footage using Adobe Premiere Pro and LUTs (Look Up Tables). Color grading is a crucial step in the post-production process that can help enhance the overall look and feel of your footage. By applying LUTs, you can quickly and easily achieve a cinematic look for your drone footage. So let’s dive in and learn how to color grade like a pro!
Setting up the Project
Before we start color grading, we need to set up our project in Adobe Premiere Pro. Firstly, create a new adjustment layer by clicking on the “New Item” icon and selecting “Adjustment Layer.” This adjustment layer will allow us to apply effects to multiple clips at once.
Once the adjustment layer has been created, drag it onto the timeline. Next, navigate to the effects tab and search for “LUTs” or “Lumetri” to access the built-in LUTs in Adobe Premiere Pro. You can also find LUTs online, but for the purpose of this tutorial, we’ll be using the ones provided by Adobe.
Adjusting the LUTs
Now that we have our adjustment layer and LUTs applied, it’s time to adjust the settings to achieve the desired look. One of the first adjustments you can make is the opacity of the adjustment layer. This allows you to control the intensity of the LUT. Experiment with different opacity levels to find the right balance for your footage.
You can also try out different LUT styles to see which one suits your footage best. Adobe offers a variety of styles, including cinematic, film stock, monochrome, and speed looks. Play around with different styles until you find one that enhances the mood and atmosphere of your footage.
Remember to constantly evaluate the before and after effects to ensure you’re achieving the desired look. If the LUT is too strong, you can always dial back the opacity or try a different style. The goal is to create a visually appealing and cinematic look for your drone footage.
Adding Additional Adjustments
To further enhance your color grading, you can add additional adjustments to the footage. Start by adding a new adjustment layer on top of the previous one. This allows you to apply different effects without affecting the original clips.
One popular adjustment to add is the Lumetri color effect. This effect allows you to fine-tune the saturation, blacks, and exposure of your footage. Play around with these settings to achieve the desired color balance and brightness for your footage. Remember, each clip may require different adjustments, so don’t be afraid to experiment until you achieve the desired result.
Customizing the Color Map
To add a more professional touch to your color graded footage, you can customize the color map by creating a color matte. Start by creating a new color matte by clicking on the “New Item” icon and selecting “Color Matte.” Choose a black color and adjust the height of the color matte to your preference.
Once the color matte is created, drag it on top of your clip. This will create a widescreen look, adding that cinematic feel to your footage. Adjust the height of the color matte until it fits your style and desired composition.
Comparing the Before and After
Now that all the adjustments have been made, it’s time to compare the before and after of your color graded shot. Take a moment to evaluate the visual impact of your color grading. Notice how the mood, tone, and overall look of the footage have changed after the color grading process.
Appreciate the cinematic look you have achieved through the use of LUTs and additional adjustments. Color grading can truly transform your drone footage, giving it a professional and polished appearance.
Conclusion
In this tutorial, we have learned how to color grade our drone footage using Adobe Premiere Pro and LUTs. By following these simple steps, you can enhance the overall look and feel of your footage, giving it a cinematic and professional appearance.
In summary, we set up our project by creating an adjustment layer and accessing the effects tab to apply LUTs from Adobe. We then adjusted the LUTs by experimenting with opacity and different styles to find the right balance. Additionally, we added more adjustments using the Lumetri color effect and customized the color map with a color matte.
I hope you found this tutorial helpful in improving your drone footage. Stay tuned for more tutorials and cinematic videos on my channel. Don’t forget to subscribe and turn on notifications to stay updated on new content. Happy color grading!
