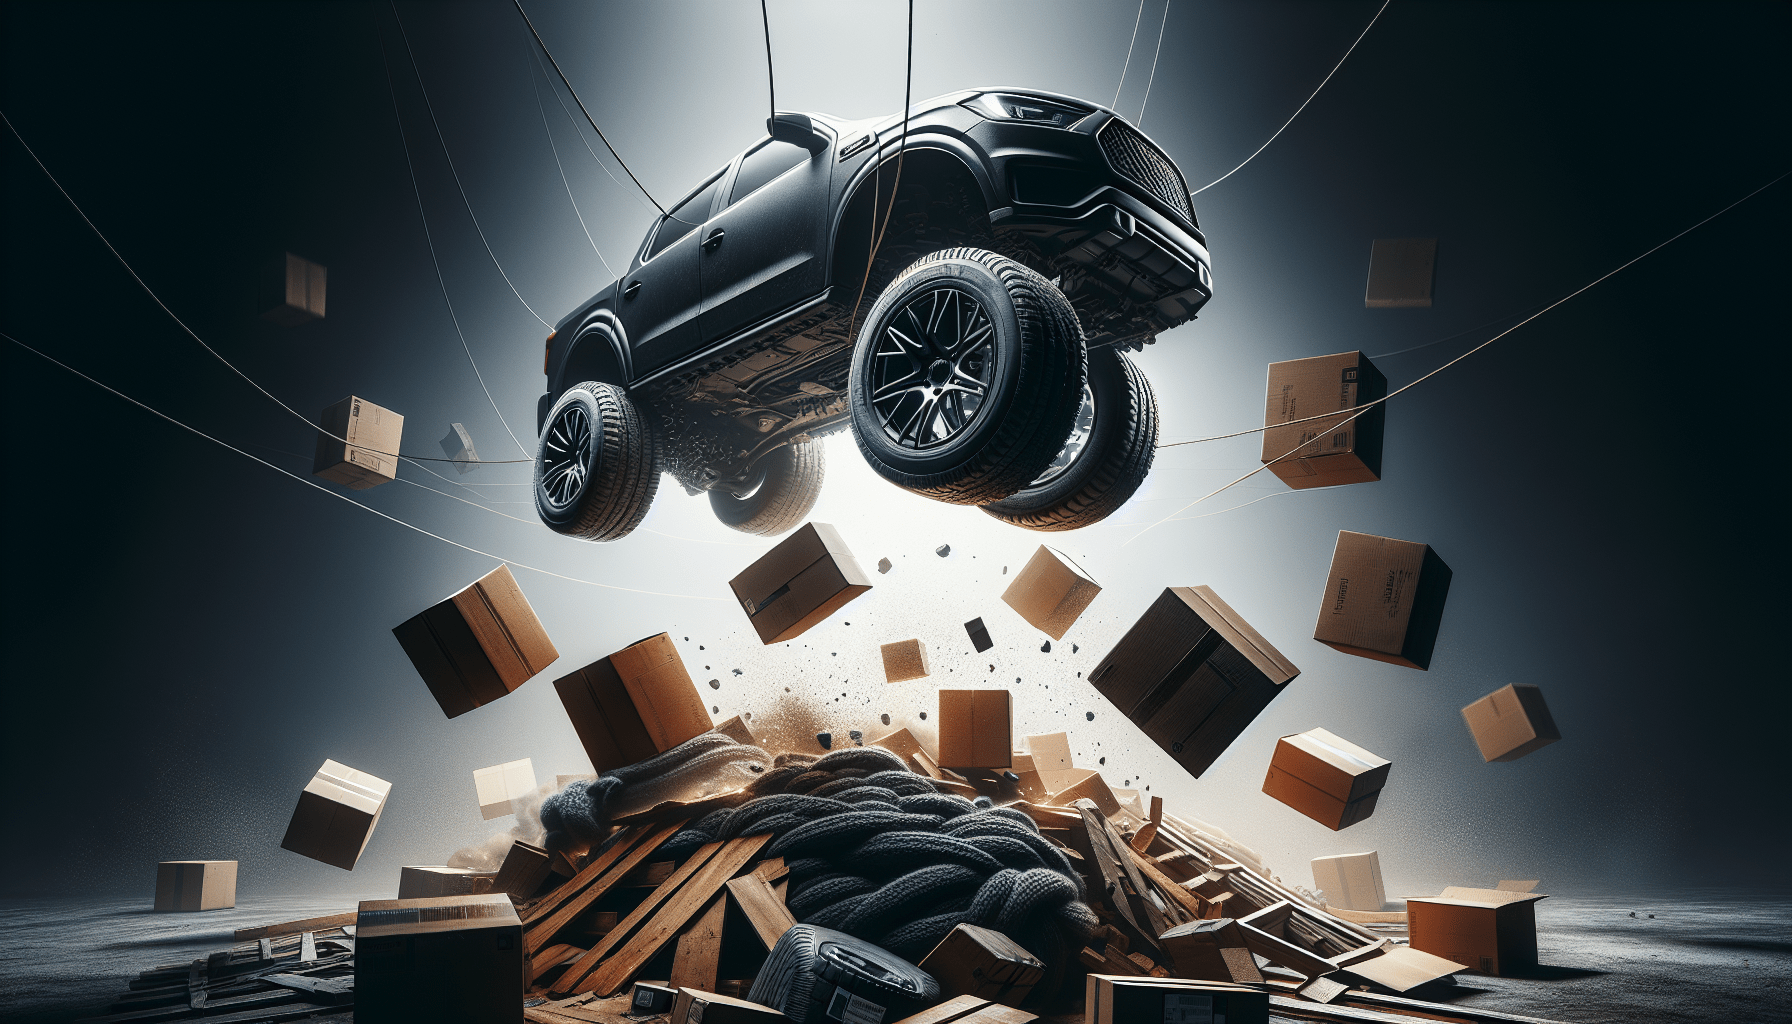
In the tutorial “How I Jumped My Car With After Effects” by Ryan Shirley, he shares how he successfully jumped his car using After Effects and Premiere Pro. Ryan explains that he had two shots, one of his car driving and another of him jumping over boxes. He guides viewers through the process of rotoscoping the car to remove it from the frame, as well as masking the boxes to create a realistic effect. Ryan emphasizes that this tutorial is for educational purposes only and cautions against attempting to jump a real car. Follow him on Instagram @shirley.films for more exciting content.
Whether you’re interested in improving your rotoscope and video editing skills or simply enjoy learning some cool tricks, Ryan Shirley’s tutorial on jumping a car using After Effects is a captivating and informative watch. By breaking down each step, from rotoscoping to masking, Ryan provides valuable insights into the world of visual effects. While it’s important to remember that this tutorial is for entertainment purposes only, it offers a glimpse into the creative possibilities of video editing. Don’t miss out on this opportunity to learn and be inspired by Ryan’s expertise.
How I Jumped My Car With After Effects – Tutorial
Video By Ryan Shirley
I decided to try jumping my car, and with the help of After Effects and Premiere Pro, it worked! I hope this tutorial helps you with your rotoscope and video editing skills. And please, never jump a real car!
What You’ll Need
Before we dive into the tutorial, here’s a list of the things you’ll need:
- Camera
- Tripod
- After Effects
- Premiere Pro
- Rotoscope tutorial
Make sure you have all these tools ready before you get started.
Setting Up the Shots
To create the illusion of jumping a car, you’ll need to set up the shots properly. Here’s what you need to do:
Camera angle
Set up your camera on a tripod at a suitable angle to capture the action.
Two shots of the car
Take one shot of your car driving and another shot immediately after, without moving the camera.
Setting up boxes
Set up boxes or any other objects that you want to jump over. Make sure they are the same height as a car to create a realistic effect.
Importing Footage into Premiere Pro
Once you have captured the necessary footage, follow these steps to import it into Premiere Pro:
Drag car clip into timeline
Drag the car clip into the timeline in Premiere Pro.
Using Adobe Dynamic Link
Go to “File” and select “Adobe Dynamic Link” to replace the video with an After Effects composition.
Replacing video with After Effects composition
This will open up After Effects and allow you to perform the rotoscoping on your car.
Rotoscoping the Car in After Effects
Rotoscoping is the process of manually tracing an object frame by frame to create a matte for it. Here’s how you can rotoscope your car in After Effects:
Opening the video layer in After Effects
Double-click the video layer in After Effects to open it up.
Using the Rotoscope icon
Click on the Rotoscope icon on the left side of the screen. This will give you a green circle.
Coloring in the car frame by frame
Using the green circle, start coloring in your car frame by frame. This will create a matte for your car.
Key Shortcuts for Rotoscoping
To make your rotoscoping process smoother, here are some key shortcuts you should know:
Changing the brush size
Hold down the command key and move your mouse up or down to change the size of the brush. This will help you make precise adjustments.
Subtracting unwanted parts
If there are any parts you want to remove from the rotoscope, hold down the Alt key. This will change the green circle to a red circle, allowing you to subtract unwanted areas.
Going frame by frame
Since rotoscoping requires accuracy, make sure to go frame by frame to ensure a clean matte for your car.
Freezing the Rotoscope
Once you have rotoscoped your car, you’ll need to freeze the rotoscope to make it ready for editing in Premiere Pro. Here’s how you can do that:
Locking the frames
Freezing the rotoscope will lock all the frames in place, allowing you to edit it in Premiere Pro.
Adding the Rotoscoped Car to the Second Shot
To make it appear as though you are jumping over the boxes with your car, you’ll need to add the rotoscoped car to the second shot. Here’s how you can do it:
Stacking the boxes on top of each other
Place the boxes on top of each other to create a makeshift ramp.
Using the mask tool to select points around the box
Use the mask tool in Premiere Pro to select points around the box. Be precise to ensure a seamless integration.
Inverting the mask and adding the original car shot beneath
After selecting points around the box, invert the mask. Then, add the original car shot beneath the masked area to fill in the space.
Adjusting the Mask for Shadows
To make the scene more realistic, you’ll need to adjust the mask to account for shadows. Here’s how you can do it:
Keyframing the mask
Start by keyframing the mask at the frame where shadows start to appear.
Moving the mask frame by frame
Go frame by frame and adjust the mask to ensure the shadows don’t interfere with the car or any other objects in the shot.
Ensuring the feet and hands are not cut out
Pay attention to the details, like making sure the mask doesn’t cut out your feet or hands when adjusting for shadows.
Adding a Shadow Effect
To enhance the realism even further, you can add a shadow effect to the scene. Here’s how:
Creating a solid black color map
Create a solid black color map to serve as the base for your shadow effect.
Trimming and shaping the shadow
Trim the black color map to fit the desired area, and shape it to resemble a shadow.
Keyframing and blending the shadow
Keyframe the shadow’s position and opacity to make it appear as though it moves naturally with the car. Blend the shadow with the original shadow in the shot for a seamless effect.
Conclusion
In conclusion, I hope this tutorial has helped you understand how to jump a car using After Effects and Premiere Pro. Remember, this video is for educational purposes only, and I strongly advise against attempting to jump a real car. Always prioritize safety.
If you’d like to see more tutorials like this, you can follow me on Instagram @shirley.films. Stay creative and happy editing!
[Music]